
Who doesn't love a good IKEA hack? If you say you don't, we all know you are lying! These built-ins turned out better than I could have imagined and my husband and I were complete rookies. We can do it, you can too.
watch our built-in tiktok here
Here's what we used and what you will need!
- 2 Havsta Cabinets with base
- 4 Billy bookcases (15 3/4x11x41 3/4 ")
- 2 Bill bookcase height extension unit
- 2" x 6' wood pieces for trim
- BIN white shellac base primer
- Patch-n-paint lightweight spackling
- Quart Limousine Leather Black by Behr (in cabinet grade)
- 4" roller + paint tape and tray
- Corner brackets
- Dap Alex flex white premium molding and trim sealant
- 220 sanding sponge
- 4 Knot knobs from CB2

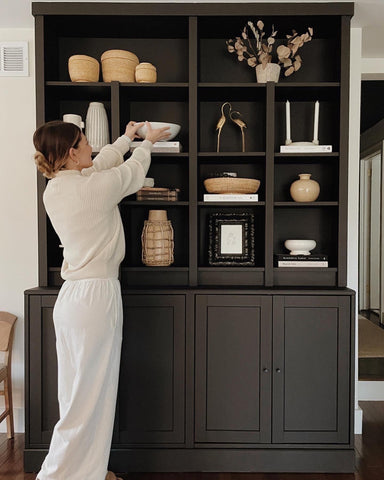
We started off by building all the Ikea cabinets and bookcases. Then we stacked our bookcases and extensions all on top of each other. We took the time to use L brackets to secure the bookcases to the wall.
Once we decided where the selfing would permanently live we used patch-n-paint to fill in all the other holes. Then measured and cut and nail gunned (you can also hammer in small nails as well if you do not have a nail gun) all 2" wide wood trim to fill all the spaces between the bookcases to give it that true built-in look. Be sure to also use patch-n-paint to fill in all the nail holes on the trim.
*we did not use a trim piece between the two havsta cabinets and decided on using paintable DAP caulking to fill that gap as well.


Once all the patch-n-paint and caulking is completely dried light sand down everything using a 220 grit sanding block. Dust off and prime EVERYTHING. Use two coats if you feel it's needed.
The best part is the paint and because it is cabinet grade its an easy two coats and a protective coat top is not needed. AND thats it!

Watch the whole process here
BEFORE

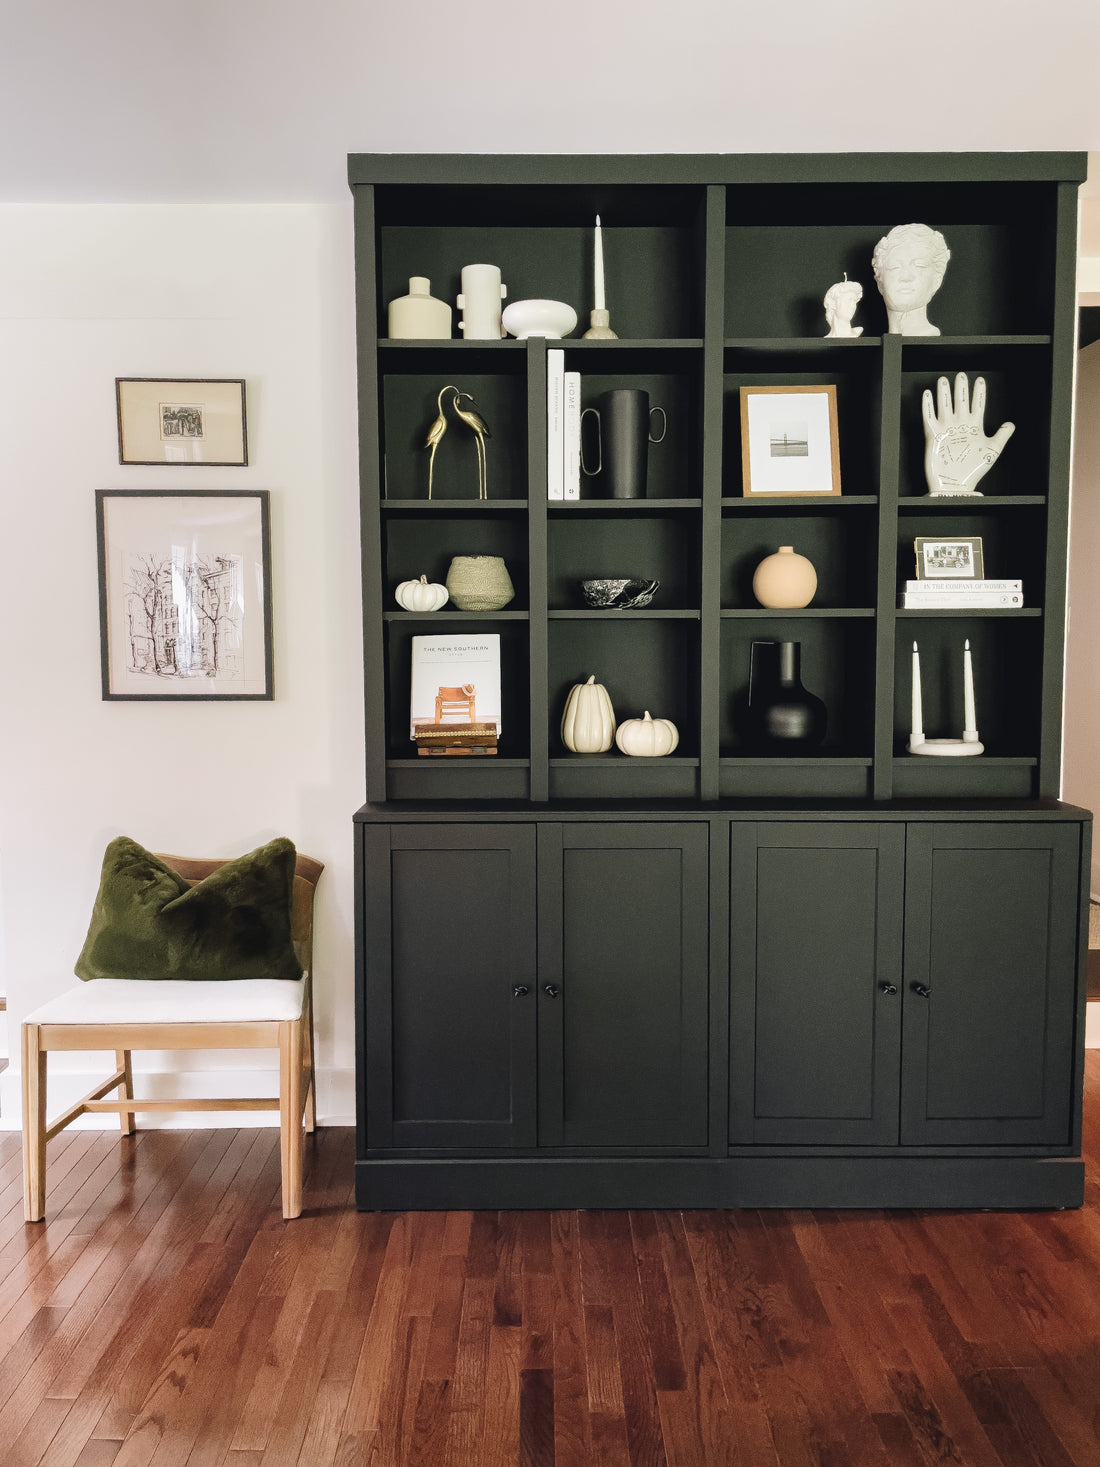
AFTER

6 comments
Hi!! I love this post and am attempting it- bought all the supplies through your links so thank you!! Question- this is going into a playroom not kitchen, and I am painting the back wall to match. I would really love to use a flat finish on the wall but worried it’ll look weird with the mixed finishes. How bad would it be to use a flat finish instead of cabinet grade for playroom cabinets? I understand semi gloss is easier to clean, but considering it’s black is there a little leeway? Or will a flat finish chip and not hold up so well? Thank you!!
Can I make it 3 columns and still look as good my wall for my wall
Hi I’m so excited to recreate this. I’m trying to do exactly even removing the baseboard so we can attach flush to wall. Curious if you can give more details on how each unit is attached. To each other or mounted to wall only? Thanks!!
Hi! Love this!
I did have a question, since this is in a sense, a piece of furniture and not “built in”, is there a gap at the back above the floor trim? I’m having this issue with my havsta units, and I don’t want to cut the floor trim so it can be pushed flush. When I walk up my stairs I can see this gap as I face the side of the unit, and I suppose its just an issue that bothers me?
Would love your thoughts!
Love this post Can I all where the cushion came from – it’s a beautiful shade of moss green!?