
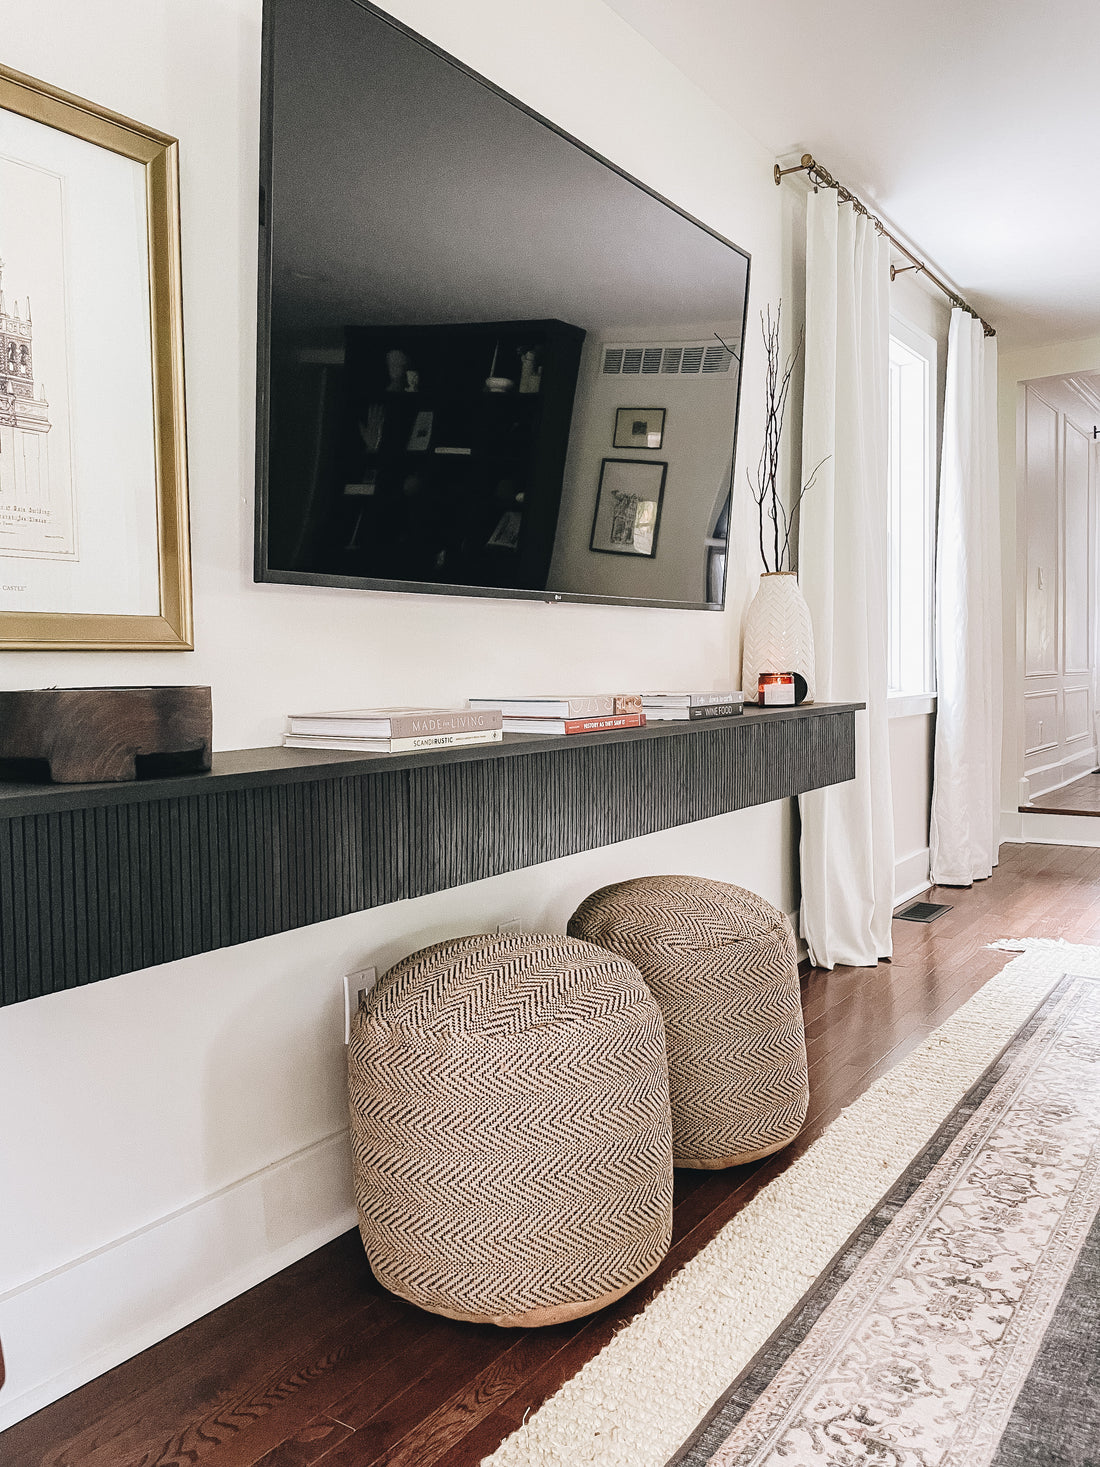
It started with the idea of a floating fluted console that would double as storage. After scouring the internet and not finding one for purchase I cranked out this super profess sketch to get my husband on board with the idea of making one.


An 8 foot long by 1 foot wide floating console was my mission.

I knew that I wanted to paint the console the same black as our built-ins so we set off to Home Deport for some poplar wood and pole wrap. *poplar wood is excellent for any type of project you are going to paint, its a softer wood with a straight grain and uniform texture enable high-quality finishes.
We started by sanding and cutting all the pieces to size and then we built a simple built a box, without a back. (No back to make the shelf lighter and it is totally optional to add a full back if thats for you!)
We laid an 8 ft board on the ground and screwed in four 10.5" x 7.5" pieces of wood on to the two on the ends of the console and two pieces in the middle. The two pieces in the middle create support but also a separation within the storage area.
For the front piece we cut another 8 foot board into 3 pieces to create 3 doors for storage. Each front piece was secured to the console with 2" hinges, a link chain and magnetic catches. This would allow us to simply push open each door without having to add in pulls on the outside of the console therefore, creating a flawless looking exterior.


For the back we added two 24"Lx 2.5H" x 1"W pieces of wood from the end to the middle of the unit. We did not do a full back because it really cut back on weight and allows cords to freely flow in and out of the unit.

Then we cut and wrapped the sides and front "doors" with pole wrap with a little wood glue and small nails with our nail gun.
After that we simply painted everything with Limousine Leather Black from Behr, this is the same black we used on our built-ins and both stand in the same
room.
We did paint the top piece separate so we could easily paint both sides for a professional clean look on the inside and outside of the shelf. Once everything was dried we attached the top piece with L brackets. The L brackets were must for me so that the top piece was a clean solid piece with zero nail holes.
Originally, I had planned to hang the shelf with french cleats, but when we tried that you could see a gap between the unit and the wall from the side view. We changed up and drilled through the back 2"x4" pieces directly into the studs in the wall. I love that there is no gap between the unit and wall and is super study.
You can see the whole process in 30 seconds here
@albanygreendesign So we’re making furniture now. If you cant find what you want, build what you want. #diy #diyproject #homeproject #designer ♬ Made You Look - Meghan Trainor